Deploying Black Duck by Using the Azure Marketplace (archived)
Table of Contents
Introduction
The following instructions describe how to deploy Black Duck from the Microsoft Azure Marketplace.
Deploying Black Duck from the Microsoft Azure Marketplace
- Navigate to Black Duck Hub in Azure Marketplace, or search for Black Duck by using Azure Marketplace search.
- From the Overview screen, click GET IT NOW. The Create this app in Azure screen displays.
- Click Continue. The Azure portal displays.
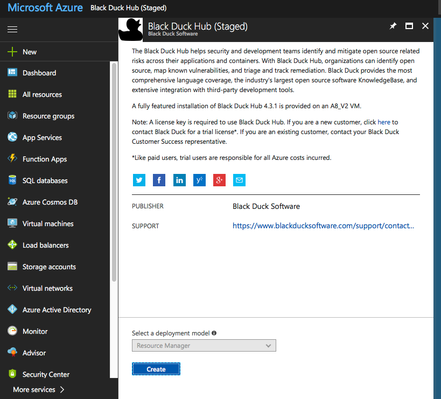
- Click Create on the bottom of the screen. The Create Black Duck Black Duck > Basics page displays.
- Provide the following values, and then click OK:
- Cluster VM Account Name and Password: type these credentials, so that you can SSH into the Black Duck virtual machine (VM) if needed. Ensure that you create a strong password.
- Subscription: select the Azure subscription that you want to use for hosting the Black Duck environment.
- Resource Group: create a new or select an existing resource group for the Black Duck environment. Black Duck recommends creating a new resource group for easy undeployment.
- Location: select the Azure location in which Black Duck will be hosted.
The screen advances to Infrastructure information.
Provide the following values:
Black Duck VM Size: type the size of the VM to host your Black Duck instance. Black Duck recommends using the default VM size, but you can enter a different size according to your policy or needs.
Public IP address: type settings for the IP address to be assigned to your Black Duck instance. Black Duck recommends using the defaults. A static IP is not necessary, because you use the domain name label to access Black Duck.
Domain name label: type the customizable component of your Black Duck URL. For example, if you create an instance in the eastus region, your Black Duck instance URL is https://myhubinstance.eastus.cloudapp.azure.com.
When using your Black Duck instance with Black Duck Detect, you must provide the DNS address; for example, myhubinstance.eastus.cloudapp.azure.com, not the IP address.
- Azure validates the values that you provide and displays the Summary and confirmation.
Click OK to continue to continue to Buy. - Read the Black Duck Terms of Service and Privacy Policy by clicking the related hyperlinks, and then click Create to create your Black Duck instance.
You are returned to the Azure dashboard.
Finding the URL of your Black Duck installation
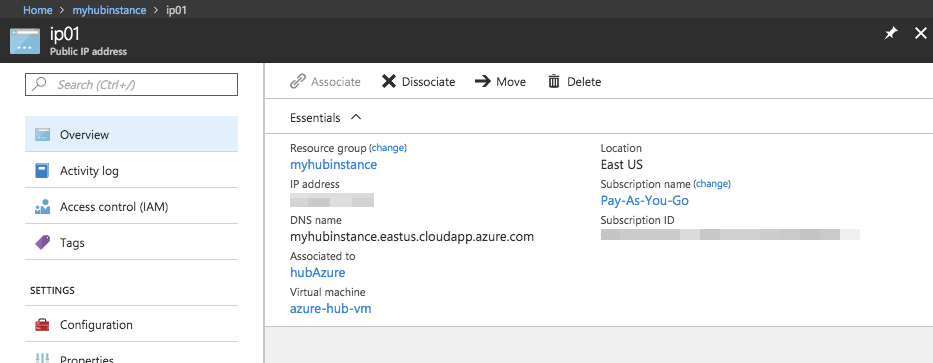
When you deploy your Black Duck instance, you can access it by using the address you entered in the Public IP Address field during installation.
If you do not remember the URL, navigate to Resource groups in the Azure Portal, and click IP address resource. The full address display in DNS name.
Trust certification
A certificate trust warning may display when browsing to the site.
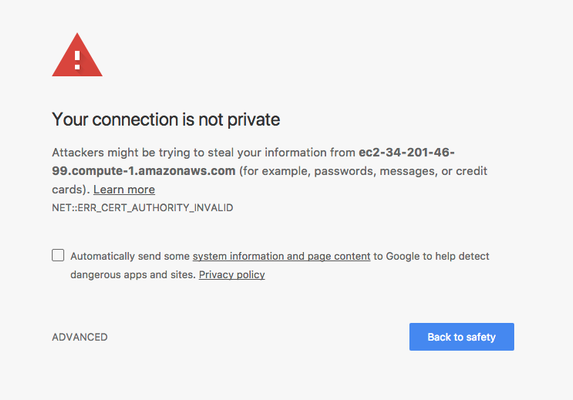
A certificate trust warning might display because the web server container has a self-signed certificate obtained from Docker.
To ignore this warning and continue, for example, in Google Chrome, click Advanced, and then proceed. To ensure enhanced security, consider replacing the self-signed certificate with a custom certificate.
For information about the procedure for replacing the certificate, refer to the system post-installation tasks topic in the Black Duck Installation Guide.
The default credentials are:
Admin user = sysadmin
Admin password = blackduck
Synopsys recommends that you reset the temporary password to improve security.
If the Black Duck is still inaccessible, contact support@blackducksoftware.com.
Registration
When you provide the administrator username and password, a Registration dialog displays, where you type your Black Duck subscription license in the Registration ID field.
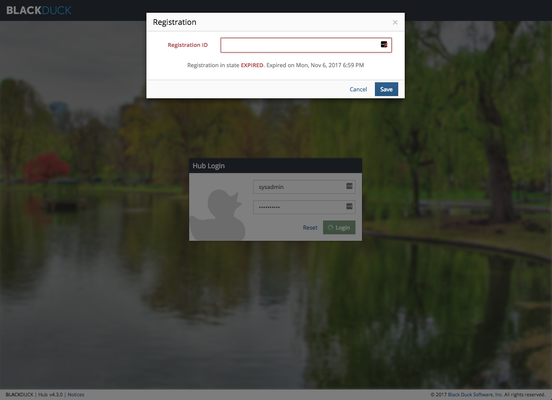
Black Duck on Azure is a bring your own license (BYOL) model and is available for customers with valid licenses.
If you do not have a license, contact our sales team to request a license.
Known issues
Sometimes, the Azure Marketplace falsely reports a failure of the Hub deployment, even though Black Duck is working.
In this case, upon provisioning Black Duck, the Azure Marketplace reports the status of Failed, and displays the following error:
Provisioning of VM extension installhub has timed out. Extension installation may be taking too long, or extension status could not be obtained.
This is a known issue with Microsoft. Assuming that Black Duck is running correctly, you can ignore this failure status message.
You are returned to the Azure dashboard.
©2020 Synopsys, Inc. All Rights Reserved